Back to Map tool page
Creating the natural_earth.sqlite sample database
This quick tutorial explains by practical step by step examples how the natural_earth.sqlite sample database was actually created.It's mainly intended for didactic purposes: you are expected to replicate all single steps, and at the end of the process you'll surely master the new tools and wizards supported by spatialite_gui 2.1.0.
All Vector Coverages will be based on Natural Earth datasets.
Step #1: populating the database by importing input Shapefiles
| This one is a pure SQL task, and we'll assume that you should be already well accustomed to this. |
SELECT ImportShp('C:\vanuatu\NaturalEarthVector\ne_10m_admin_0_countries', 'countries', 'CP850', 4326);
SELECT ImportShp('C:\vanuatu\NaturalEarthVector\ne_10m_admin_1_states_provinces', 'states_provinces', 'CP850', 4326);
SELECT ImportShp('C:\vanuatu\NaturalEarthVector\ne_10m_airports', 'airports', 'CP850', 4326);
SELECT ImportShp('C:\vanuatu\NaturalEarthVector\ne_10m_populated_places', 'pop_places', 'CP850', 4326);
SELECT ImportShp('C:\vanuatu\NaturalEarthVector\ne_10m_ports', 'ports', 'CP850', 4326);
SELECT ImportShp('C:\vanuatu\NaturalEarthVector\ne_10m_railroads', 'railroads', 'CP850', 4326);
SELECT ImportShp('C:\vanuatu\NaturalEarthVector\ne_10m_roads', 'roads', 'CP850', 4326);
SELECT ImportShp('C:\vanuatu\NaturalEarthVector\ne_10m_time_zones', 'time_zones', 'CP850', 4326);
SELECT ImportShp('C:\vanuatu\NaturalEarthVector\ne_10m_ocean', 'ocean', 'CP850', 4326);
SELECT ImportShp('C:\vanuatu\NaturalEarthVector\ne_10m_rivers_lake_centerlines', 'rivers', 'CP850', 4326);
SELECT ImportShp('C:\vanuatu\NaturalEarthVector\ne_10m_lakes', 'lakes', 'CP850', 4326);
|
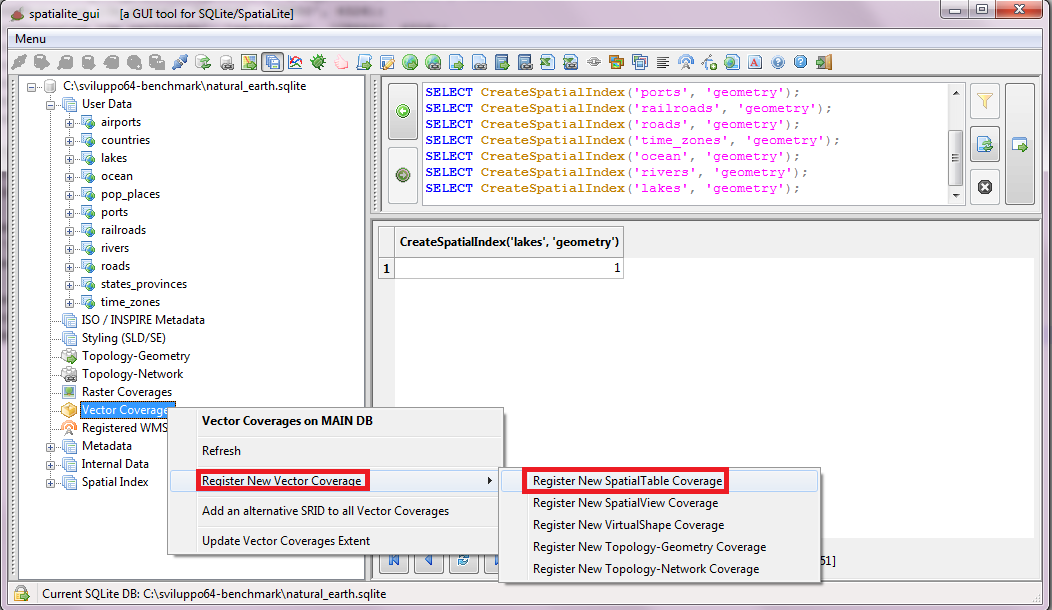
| And now a Spatial Inxed will be added to each Spatial Table. | SELECT CreateSpatialIndex('countries', 'geometry');
SELECT CreateSpatialIndex('states_provinces', 'geometry');
SELECT CreateSpatialIndex('airports', 'geometry');
SELECT CreateSpatialIndex('pop_places', 'geometry');
SELECT CreateSpatialIndex('ports', 'geometry');
SELECT CreateSpatialIndex('railroads', 'geometry');
SELECT CreateSpatialIndex('roads', 'geometry');
SELECT CreateSpatialIndex('time_zones', 'geometry');
SELECT CreateSpatialIndex('ocean', 'geometry');
SELECT CreateSpatialIndex('rivers', 'geometry');
SELECT CreateSpatialIndex('lakes', 'geometry');
|
Step #2: creating Vector Coverages based on Spatial Tables.
| All the Spatial Tables you've loaded in the previous step aren't yet ready to be published. You are required to specify few further informations in order to properly register the corresponding Vector Coverages. |
 | |
| Just select a Spatial Table from the list, then fill all dialog fields and finally confirm. | 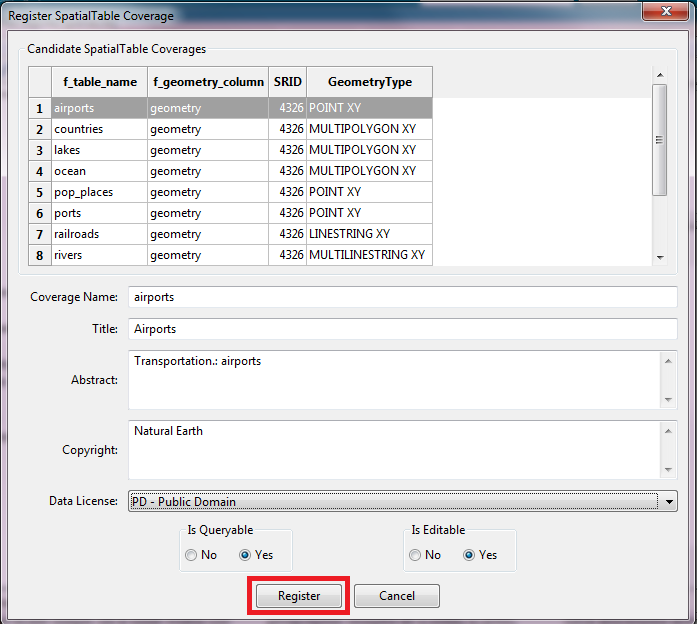 | |
| Repeat the previous step untill you've registered all the Vector Coverages. | ||
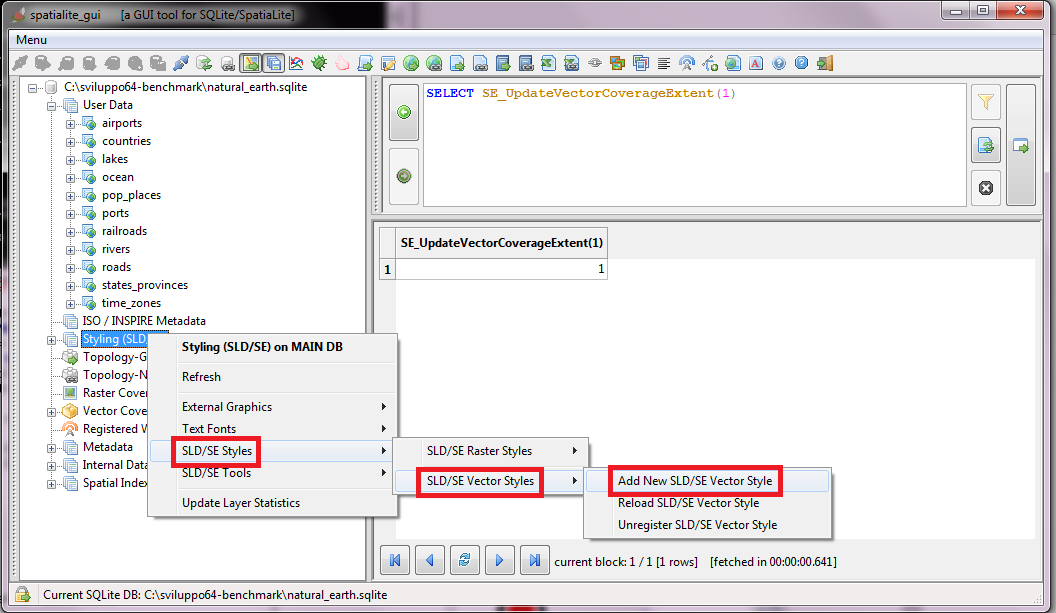
| Vector Coverages usually do not require any pre-defined Styling rule. Anyway this is a didactic example, so you are now expected to set a Categorized Style supporting the counties Vector Coverage. This specifc step is strictly similar to importing Raster Styles, so you can directly check the corresponding instructions about building world-rasters.sqlite. |
 | |
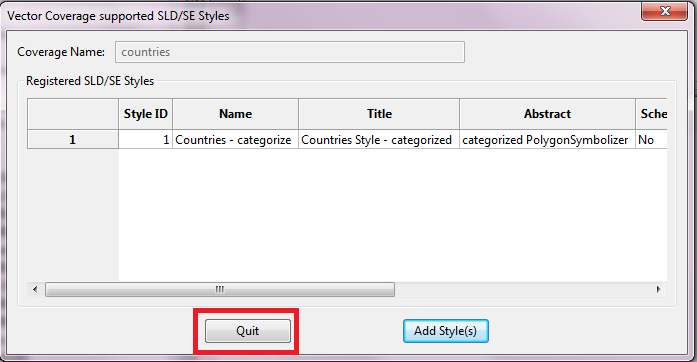
| Once you've imported the Style you have to associate it to the Vector Coverage. | 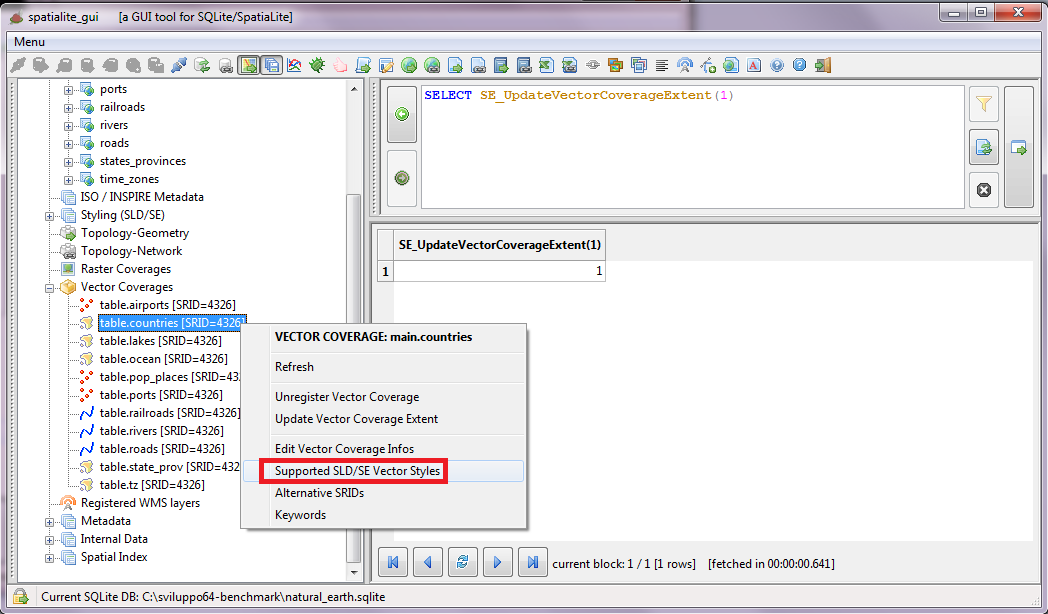 | |
| This dialog is stricly similar to the supporting Raster Styles. Just press the Add Style(s) button and select the Style (or Styles) you intend associate to the Vector Coverage. |
 | |
| Now, just to add a pinch more salt, you are expected to load into the database few SVG symbolos intended to support respectively the airports and ports Vector Coverages. | 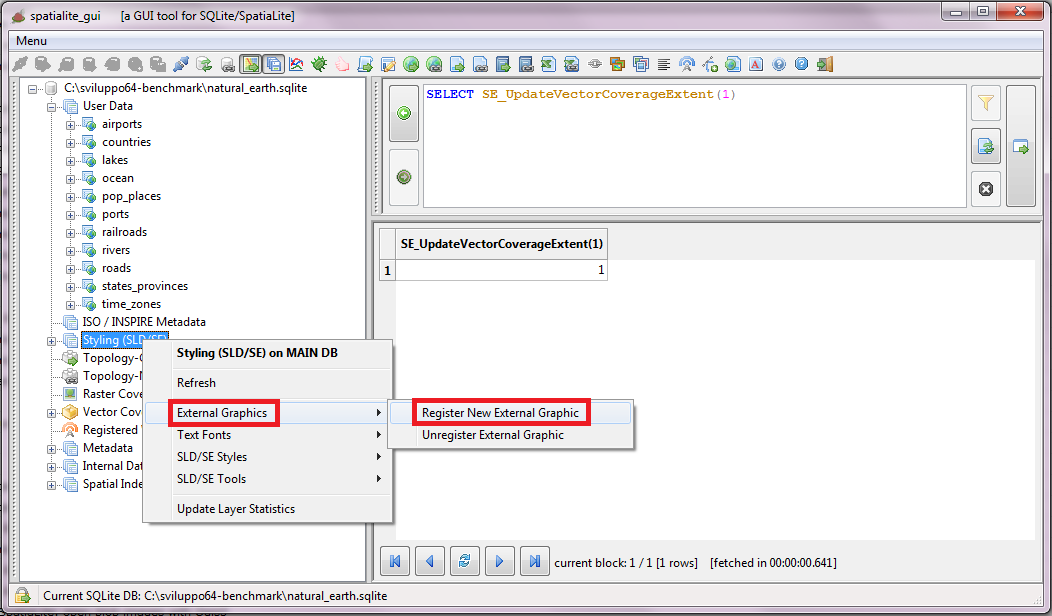 | |
| Select the pathnames identifying the SVG sumbols, then confirm. | 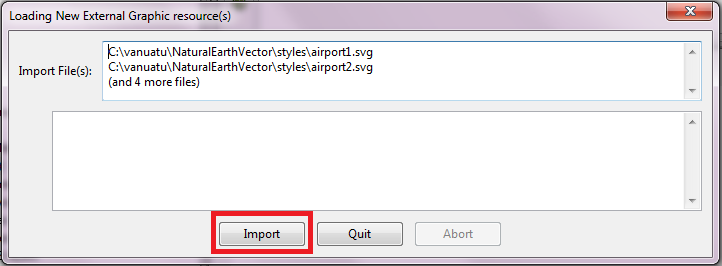 | |
| A message box will pop up confirming that the SVG symbols have been succesfullly loaded into the database. | 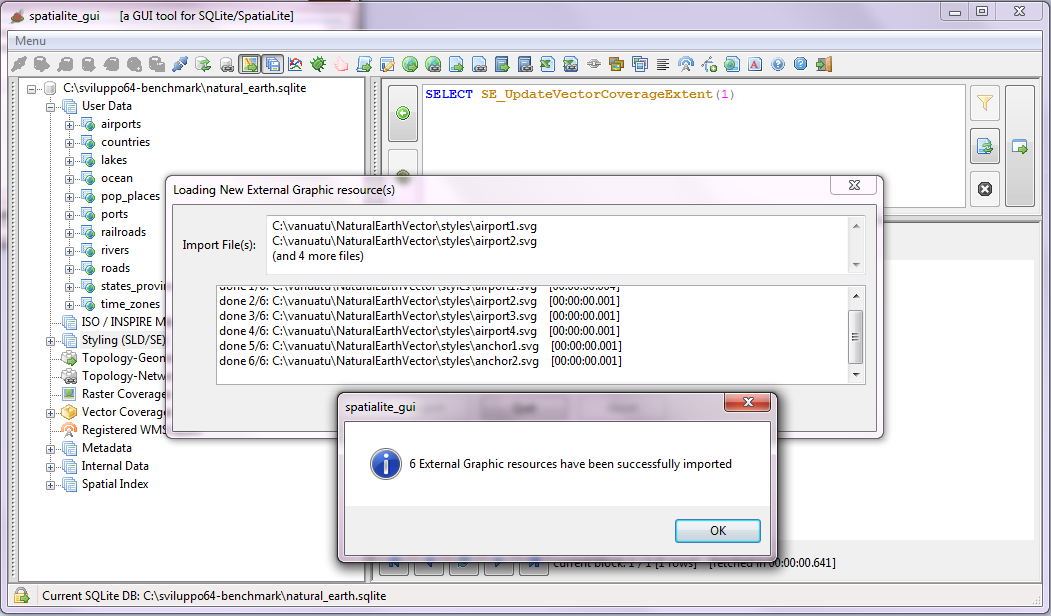 | |
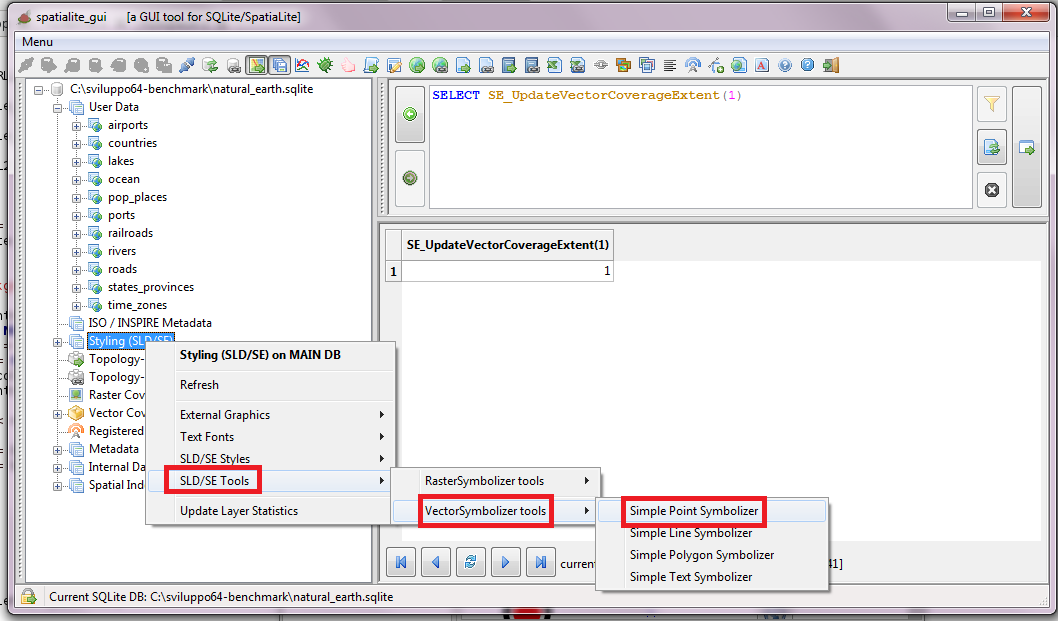
| Effectively using the SVG symbols you've just imported require defining some appropriare SLD/SE Style. You could perform this step by hand-writing the XML Style, but you'll probably whish better using an user friendly GUI wizard. spatialite_gui supports several Style-related wizards intended respectively for Ponit, Line, Polygon and Text Symbolizer. In this example we'll simply illustrate a Point Symbolizer, but you can easily explore the remaining ones by yourself. |
 | |
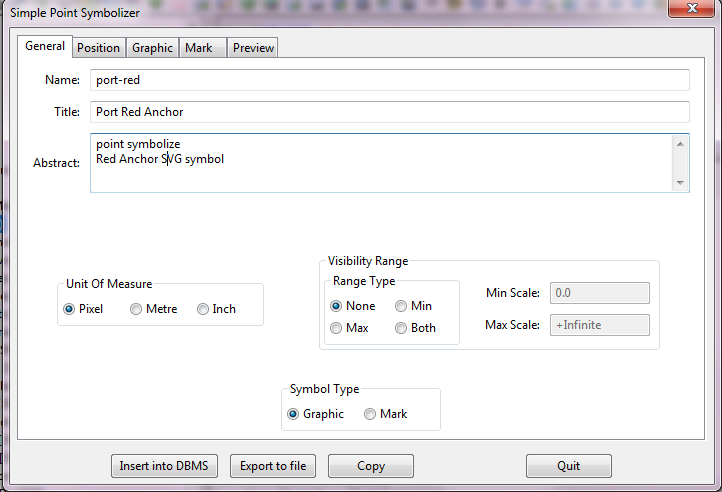
| page #1 Set meaninful Name, Title and Astract values. Note: Name is a Primary Key and must be unique. Important: choose between Graphics or Mark; the corresponding page will be enabled automatically disabling the other. |
 | |
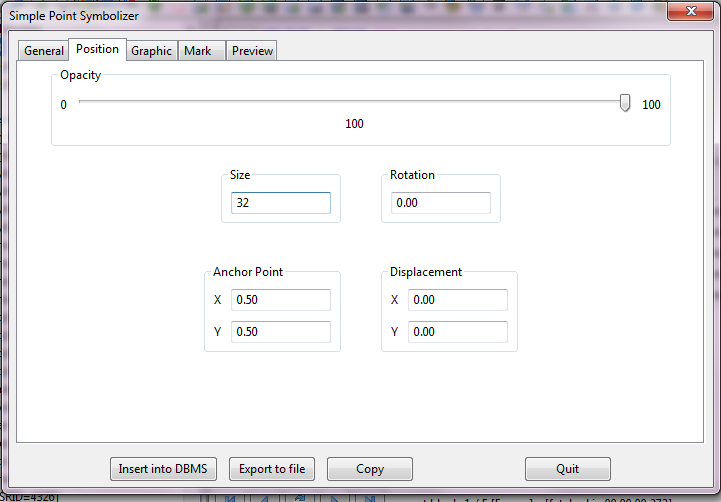
| page #2 Set the symbol's size. You could eventually set other special effects like displacement, rotation or transparency. |
 | |
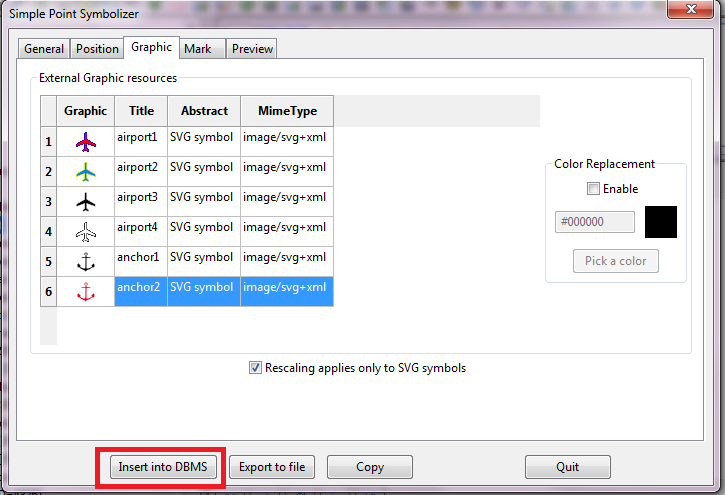
| page #3 Choose an SVG symbol and then register the Style into the database. You are now ready to associate this Style to the ports Vector Coverage following the same procedure we've already seen in a previous strp. |
 | |
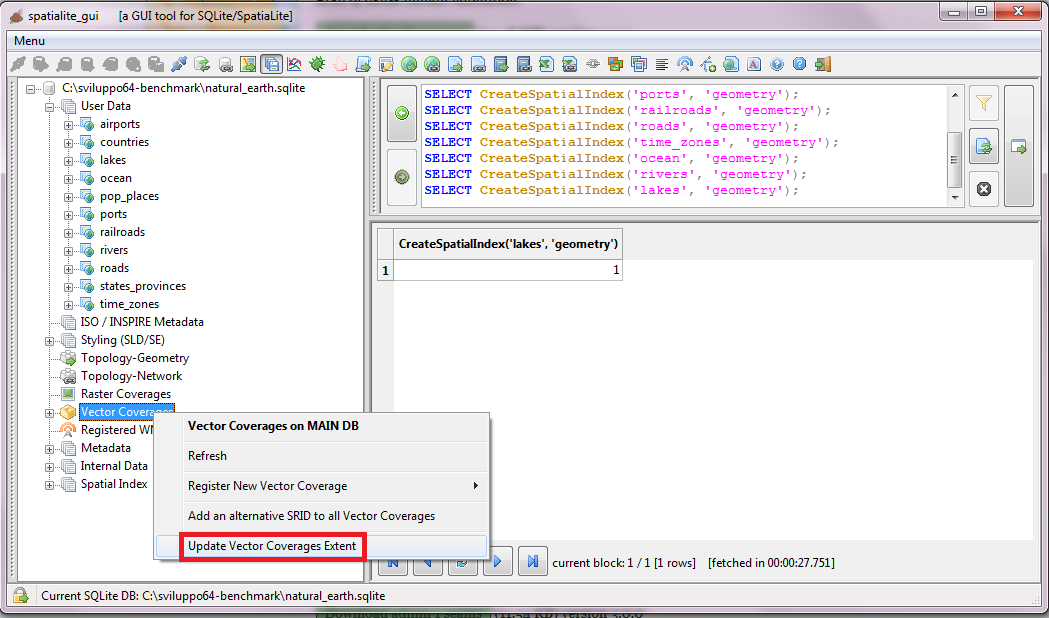
Final step: you have to compute the full Extent (BBOX) for all Vector Coverages.
Warning
All right; all NATURAL EARTH Vector Coverages are now ready to be published ! |
 |
Back to Map tool page