
recipe #19
Merging Local Councils into Counties and so on ...
Note: these pages are no longer maintainedNever the less, much of the information is still relevant.Beware, however, that some of the command syntax is from older versions, and thus may no longer work as expected. Also: external links, from external sources, inside these pages may no longer function. |
|
recipe #19 |
| 2011 January 28 |
| Previous Slide | Table of Contents | Next Slide |
|
The problem
Local Councils, Counties and Regions follow a well defined order
of hierarchy. |
|
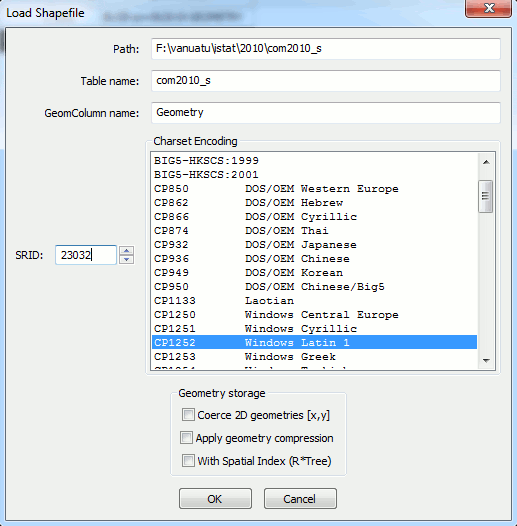
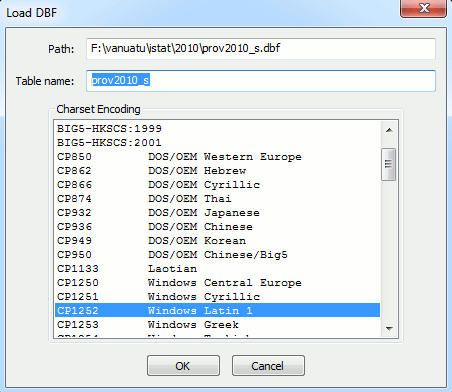
CREATE VIEW local_councils AS SELECT c.cod_reg AS cod_reg, c.cod_pro AS cod_pro, c.cod_com AS cod_com, c.nome_com AS nome_com, p.nome_pro AS nome_pro, p.sigla AS sigla, r.nome_reg AS nome_reg, c.geometry AS geometry FROM com2010_s AS c JOIN prov2010_s AS p USING (cod_pro) JOIN reg2010_s AS r USING(cod_reg); SELECT * FROM local_councils; |
| cod_reg | cod_pro | cod_com | nome_com | nome_pro | sigla | nome_reg | geometry |
| 1 | 1 | 1 | Agliè | Torino | TO | PIEMONTE | BLOB sz=1117 GEOMETRY |
| 1 | 1 | 2 | Airasca | Torino | TO | PIEMONTE | BLOB sz=1149 GEOMETRY |
| 1 | 1 | 3 | Ala di Stura | Torino | TO | PIEMONTE | BLOB sz=1933 GEOMETRY |
| ... | ... | ... | ... | ... | ... | ... | ... |
|
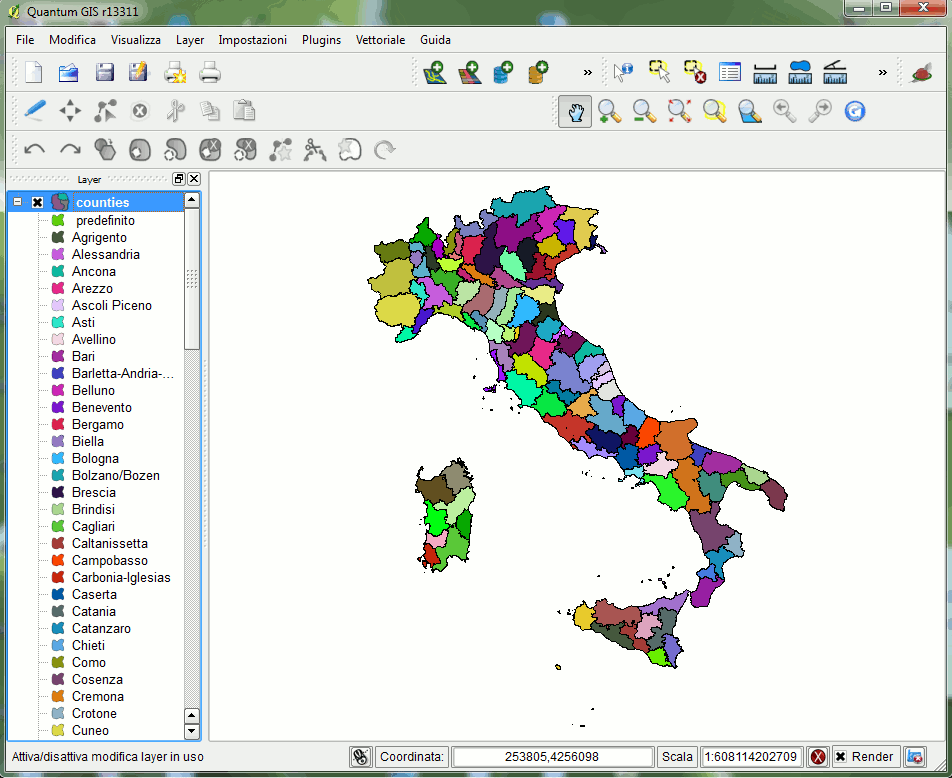
CREATE TABLE counties AS SELECT cod_pro, nome_pro, sigla, cod_reg, nome_reg, ST_Union(geometry) AS geometry FROM local_councils GROUP BY cod_pro; SELECT RecoverGeometryColumn('counties', 'geometry', 23032, 'MULTIPOLYGON', 'XY'); |
| SELECT * FROM counties; |
| cod_pro | nome_pro | sigla | cod_reg | nome_reg | geometry |
| 1 | Torino | TO | 1 | PIEMONTE | BLOB sz=36337 GEOMETRY |
| 2 | Vercelli | VC | 1 | PIEMONTE | BLOB sz=27357 GEOMETRY |
| 3 | Novara | NO | 1 | PIEMONTE | BLOB sz=15341 GEOMETRY |
| ... | ... | ... | ... | ... | ... |
|
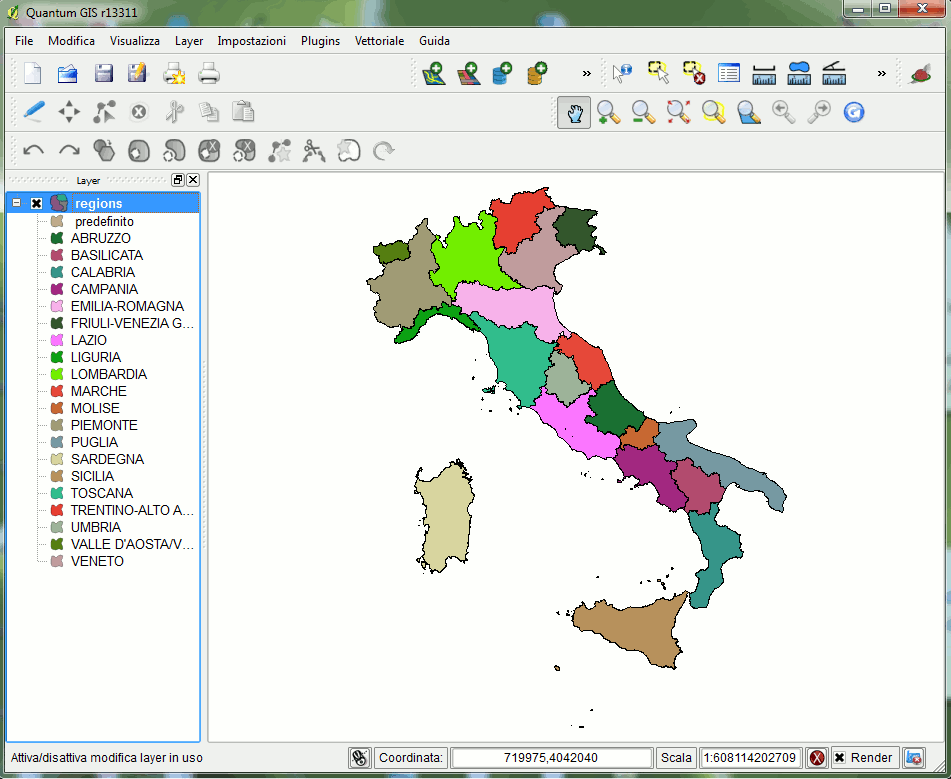
CREATE TABLE regions ( cod_reg INTEGER NOT NULL PRIMARY KEY, nome_reg TEXT NOT NULL); SELECT AddGeometryColumn('regions', 'geometry', 23032, 'MULTIPOLYGON', 'XY'); INSERT INTO regions (cod_reg, nome_reg, geometry) SELECT cod_reg, nome_reg, ST_Union(geometry) FROM counties GROUP BY cod_reg; |
|
SELECT * FROM regions; |
| cod_reg | nome_reg | geometry |
| 1 | PIEMONTE | BLOB sz=75349 GEOMETRY |
| 2 | VALLE D'AOSTA/VALLÉE D'AOSTE | BLOB sz=18909 GEOMETRY |
| 3 | LOMBARDIA | BLOB sz=83084 GEOMETRY |
| ... | ... | ... |
|
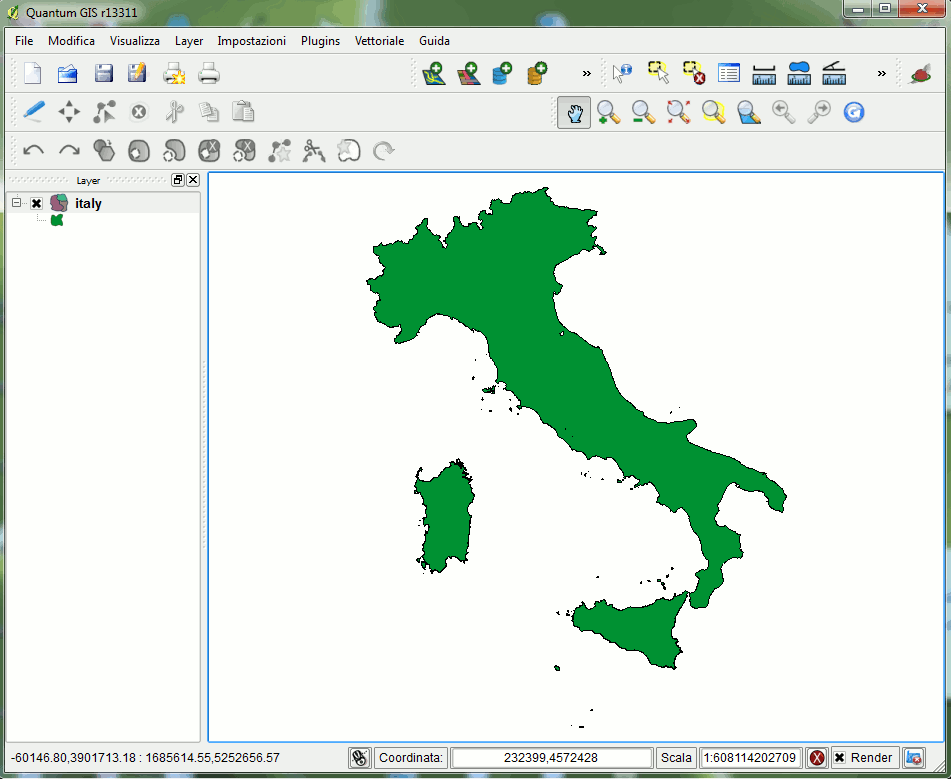
CREATE TABLE italy AS SELECT 'Italy' AS country, ST_Union(geometry) AS geometry FROM regions; SELECT RecoverGeometryColumn('italy', 'geometry', 23032, 'MULTIPOLYGON', 'XY'); |
| Previous Slide | Table of Contents | Next Slide |

| Author: Alessandro Furieri a.furieri@lqt.it |
| This work is licensed under the Attribution-ShareAlike 3.0 Unported (CC BY-SA 3.0) license. | |
 |
Permission is granted to copy, distribute and/or modify this document under the terms of the GNU Free Documentation License, Version 1.3 or any later version published by the Free Software Foundation; with no Invariant Sections, no Front-Cover Texts, and no Back-Cover Texts. |