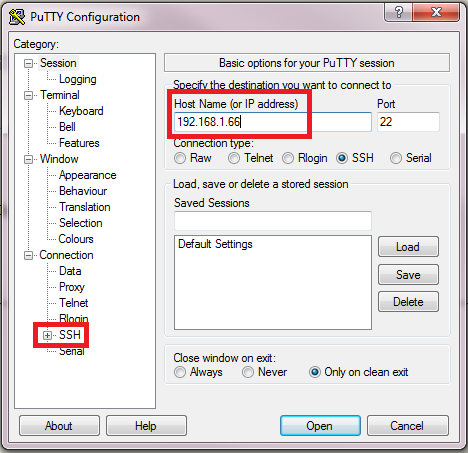
- start a PuTTY session: a dialog box will appear.
- enter the IP address or the domain name of the remote server.
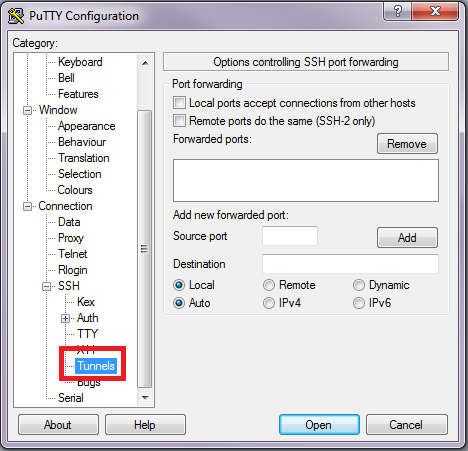
- then toggle the SSH node so to fully expand it.
- now click on the Tunnels node
- a new "Options controlling SSH port forwarding" pane will appear.
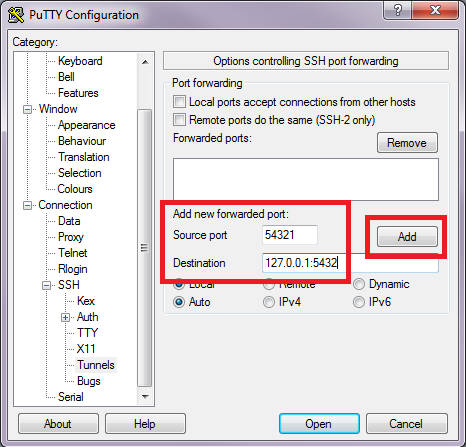
- enter the source and destination ports.
Pay close attention:- the Source port is the IP port on your local machine.
- and the Destination is the port on the remote server.
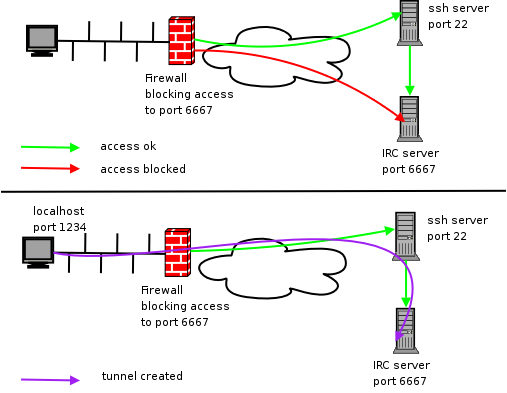
- an SSH Tunnel like this will forward your local port 54321 directly to PostgreSQL on the server (port 5432).
- then press the Add button.
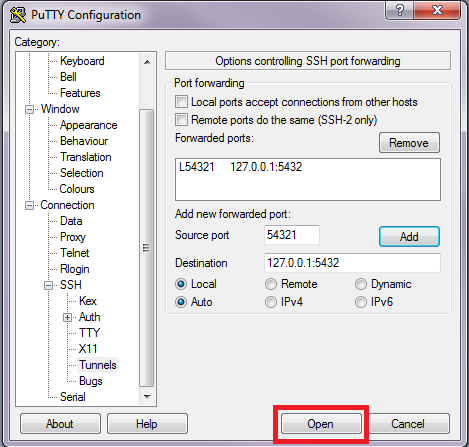
- just a final check so to verify if the port forwarding configuration is correct.
- and finally press the Open button.
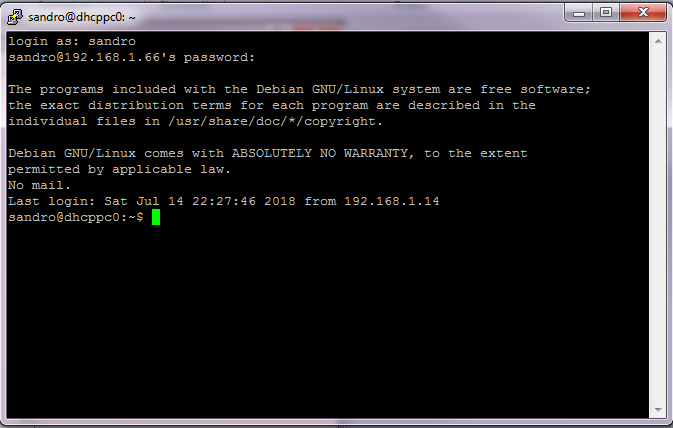
- the dialog box will disappear, and will be replaced by a PuTTY Shell window.
- insert your user name and password when required.
- if the user name and the password match, an SSH session will start, and it will support the required SSH Tunnel.
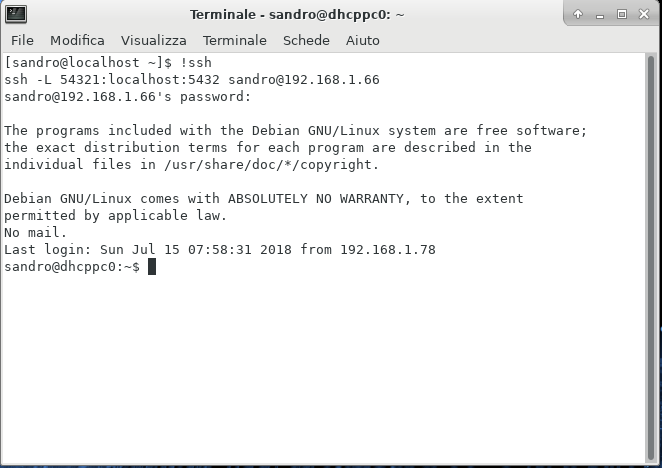
- you are now able to connect any PostgreSQL client to the local port 12345 and a connection to the remote PostgreSQL will be magically established.
- Important notice: don't close the PuTTY Shell window, because such an action will immediately terminate the SSH Tunnel.
you could eventually minimize the PuTTY Shell window, but never close it before the final termination of your PostgreSQL connection.