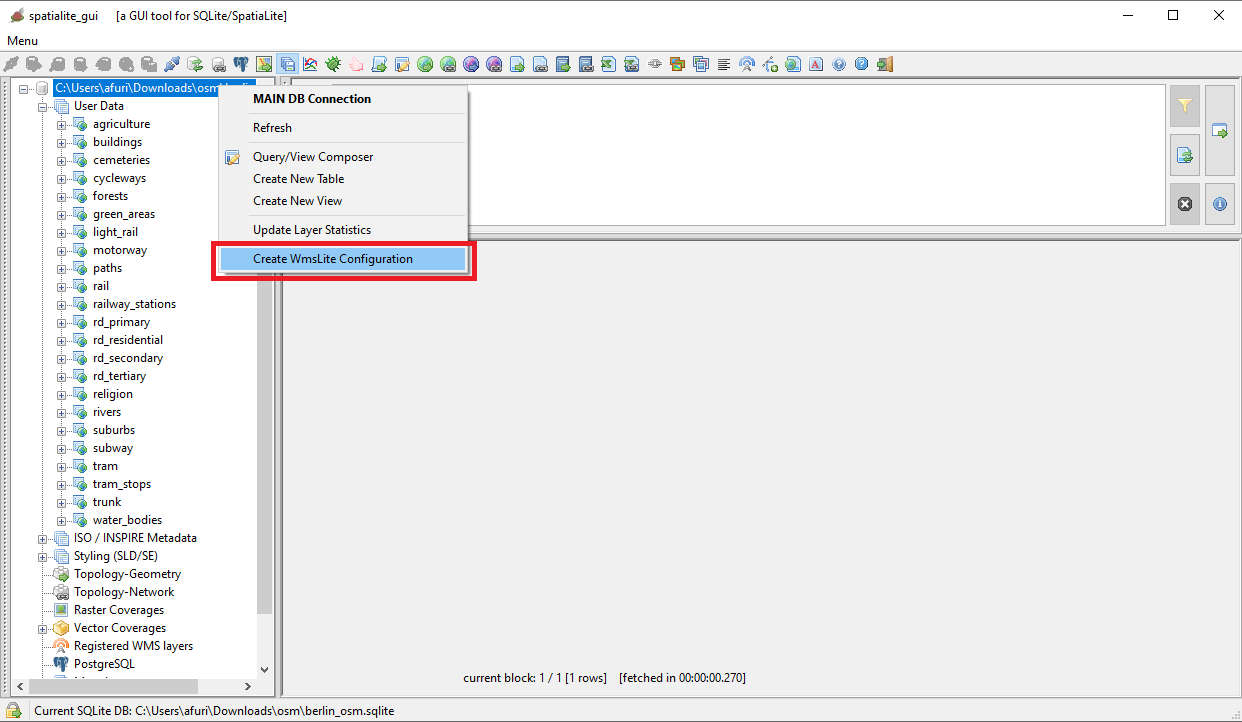
We'll start by opening the Wizard dialog:
- Press the mouse right button over the root node of the tree view control of all Tables
- a context menu will be shown
- now select the menu item shown on the side figure
|
| 
|
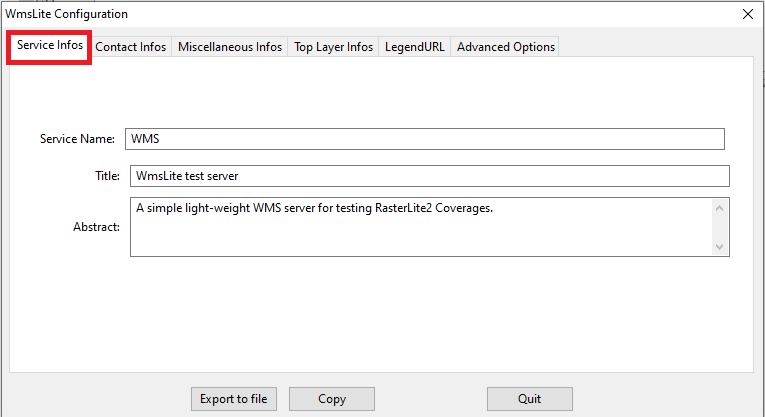
Fully configuring a WMS Service requires to specify many informations.
If you are in a hurry you can safely leave as they are the meaningles default values.
There is nothing critical in the Service Infos tab, so you can directly go to the next tab of the Wizard.
|
| 
|
|
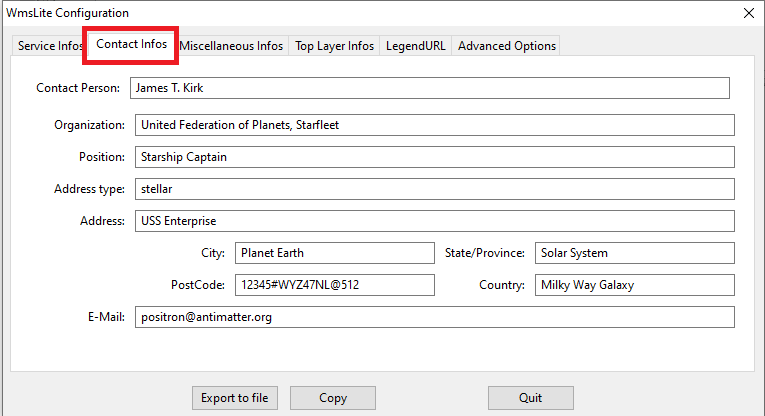
Also in the Contact Infos tab there is nothing interesting, go to the next tab.
|
| 
|
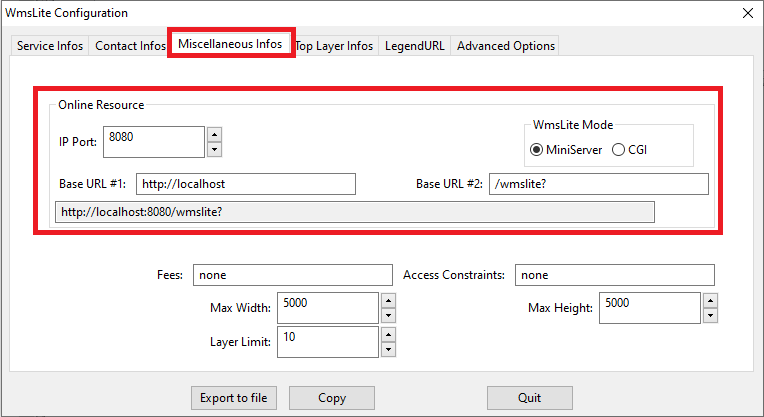
Finally in the Miscellaneous Infos tab there there is something interesting.
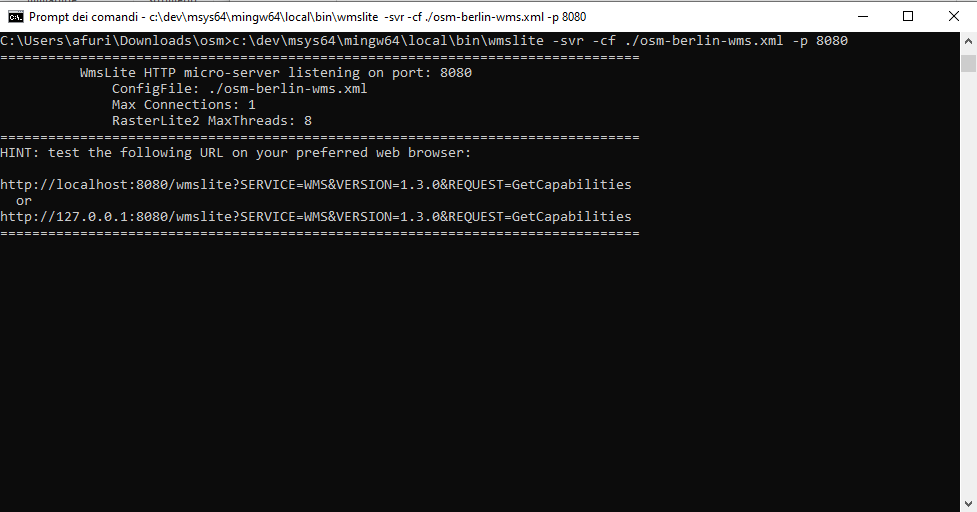
- We must select sone IP Port number where the WMS Server will listen for incoming requests: 8080 generally is the optimal choice.
- As you can see we've opted for the MiniServer mode.
- This will activate a minimalistic self-contained web server just intended to accept WMS requests coming from the same computer.
It's an absolutely unsafe mode surely causing many potential security issues, but it's completely harmless for internal testing without accessing the external netweork.
- The alternative mode is CGI, a robust and very reliable mechanism which however requires the installation of a full feathered WEB Server such as Apache, a not so easy task requiring specific technical skills.
- Short conclusion: using the MiniServer is the best option for unsofisticated quick and easy testing purposes.
For any serious deployement in a production environmente you absolutely need to use the more professional (and complex) CGI mode
- Last passage: we must now define a Base URL for the WMS Server
- You can simply confirm the suggested default http://localhost:8080/wmslite? that is the most appropriate for the MiniServer mode
|
| 
|
|
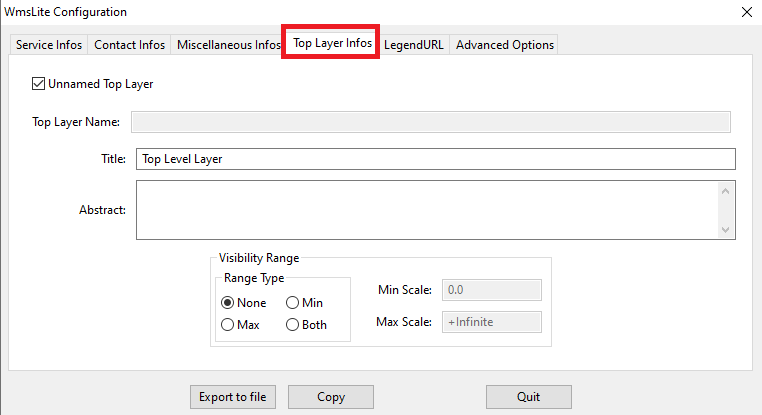
You can safely skip the Top Level Layer tab.
|
| 
|
|
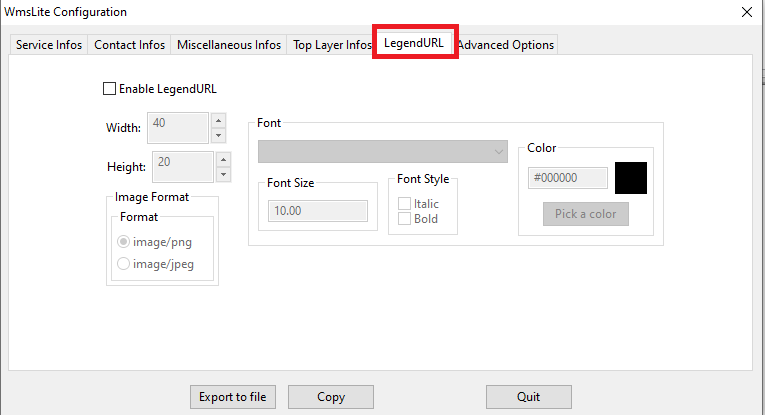
Ignore the Legend URL tab and pass to the next and last tab.
|
| 
|
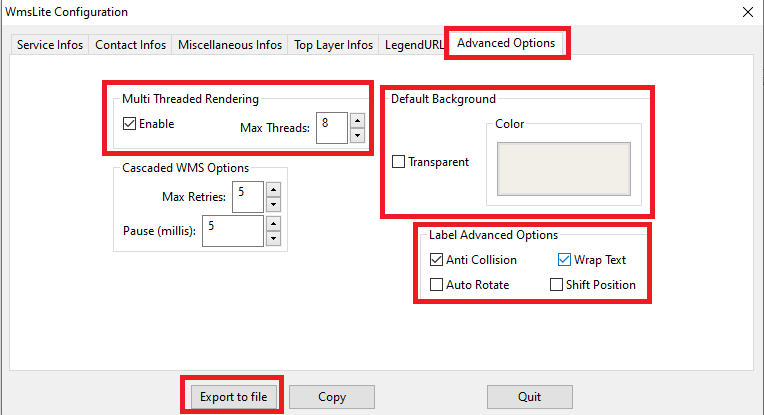
The last Advanced Options tab is more or less the same we've already seen in a previous step of this tutoial about Map Global Options, this time intended for the benefit of the WMS Server.
You must specify:
- If enabling or not Multi Threaded Rendering: and if yes, how many parallel threads you intend to authorize.
- You must opt between a Transparent or Opaque Background, and in this second case you must select a Background Color
- And finally you can selected the Label Advanced Oprions that you intend to activate.
- Note: in the specific case of the OSM Berlin Map the Cascaded WMS Options are meaningless simply because in this Map there is no WMS Layer at all.
|
All right, we've just completed the whole configuration of the WMS Server
- press the Export to file button and then save the current configuration somewhere in the file system.
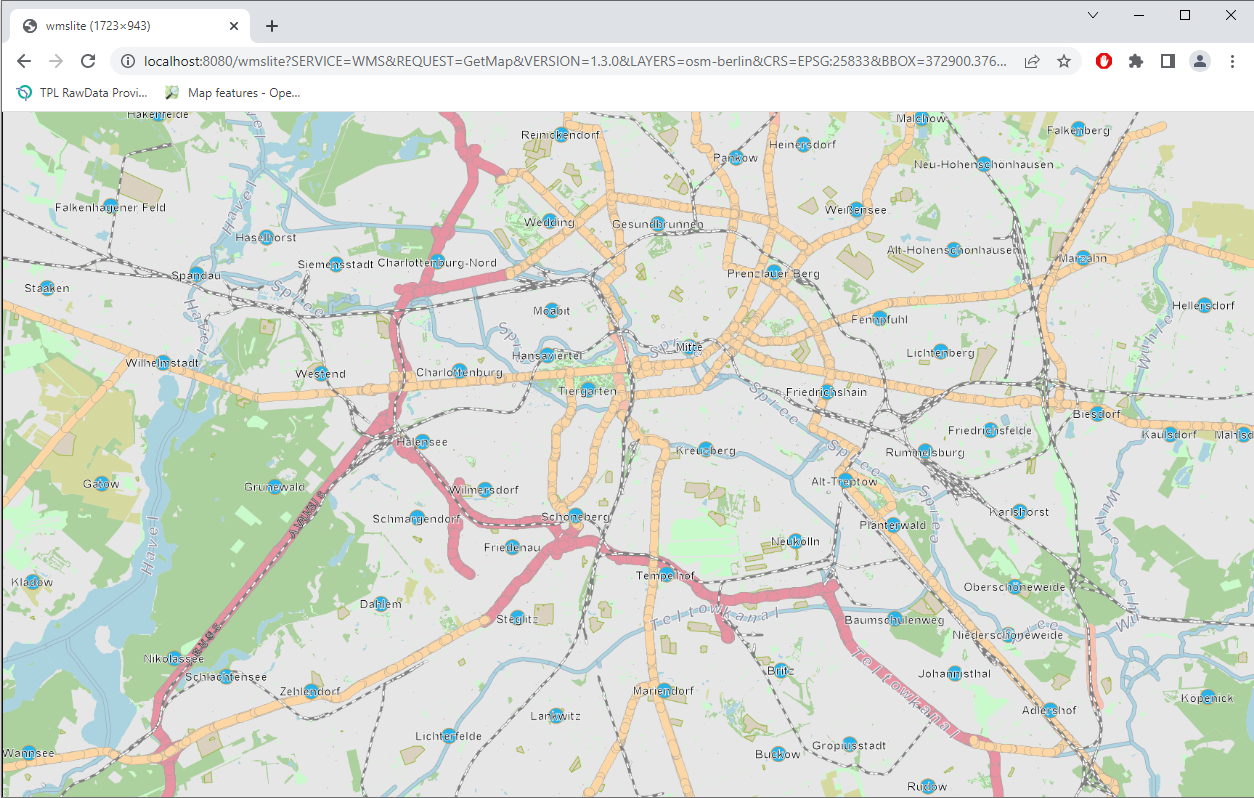
- you are now ready to start the WMS Server and begin your practical tests without any further delay
|
| 
|
Just for the sake of curiosity, what follows is the XML configuration we've just prepared for publishing the OSM Berlin Map as a Web Map Service
|
Note: this simply is a rather simple text file.
You can arrange it if required by using any text editor: e.g. you could differently arrange the MainDB Path accordingly to the specific publication environment.
|
WMS
WmsLite test server
A simple light-weight WMS server for testing RasterLite2 Coverages.
some keyword
another keyword
http://localhost:8080/wmslite?
James T. Kirk
United Federation of Planets, Starfleet
Starship Captain
stellar
USS Enterprise
Planet Earth
Solar System
12345#WYZ47NL@512
Milky Way Galaxy
positron@antimatter.org
none
none
10
5000
5000
Top Level Layer
forests
water_bodies
agriculture
green_areas
buildings
religion
rivers
cemeteries
motorway
trunk
rd_primary
rd_secondary
rd_tertiary
rd_residential
paths
cycleways
subway
rail
light_rail
tram
suburbs
railway_stations
tram_stops
|